
Hair Care & Aftercare · September 22, 2026
How to Prep Your Hair Before a Braiding Appointment
Knowing how to prep hair for braids before your appointment makes a bigger difference than most people expect. The right prep does not just make your stylist's job easier, it directly affects how comfortable your appointment feels, how neat the finished style looks, and how long your braids actually last afterward. This guide walks through exactly what to do in the days before your appointment at Ani Braids, step by step, so you can walk in ready rather than guessing.
Why Hair Prep Actually Matters
Braiding hair that is tangled, coated in product, or still damp takes longer to install and is harder to part cleanly, which can mean a less even result and more tension than necessary. Hair that is clean, dry, and detangled ahead of time lets your stylist section it accurately and braid with even, comfortable pressure from the very first part. Good prep is also one of the simplest ways to protect your hairline. The American Academy of Dermatology notes that gentle handling, from how you shampoo to how you comb, has a real effect on hair health over time, and that groundwork matters even more right before several weeks in a protective style.
Step 1: Wash and Deep Condition One to Two Days Before
Plan to wash and deep condition your hair one to two days before your appointment rather than the morning of. This timing gives your scalp enough time to produce a little natural oil again, which helps prevent dryness and itching while your braids are in, without leaving your hair so freshly washed that it is still slippery or overly soft to work with. When you shampoo, focus on massaging the product gently into your scalp rather than scrubbing down the length of your hair, and follow with a conditioner that leaves your strands soft without feeling heavy or coated. If your scalp tends to build up product between washes, this is also the wash to make a clarifying one, since starting your braids on a genuinely clean scalp is more comfortable over the following weeks than starting on one with leftover residue.
Step 2: Detangle Completely Before You Arrive
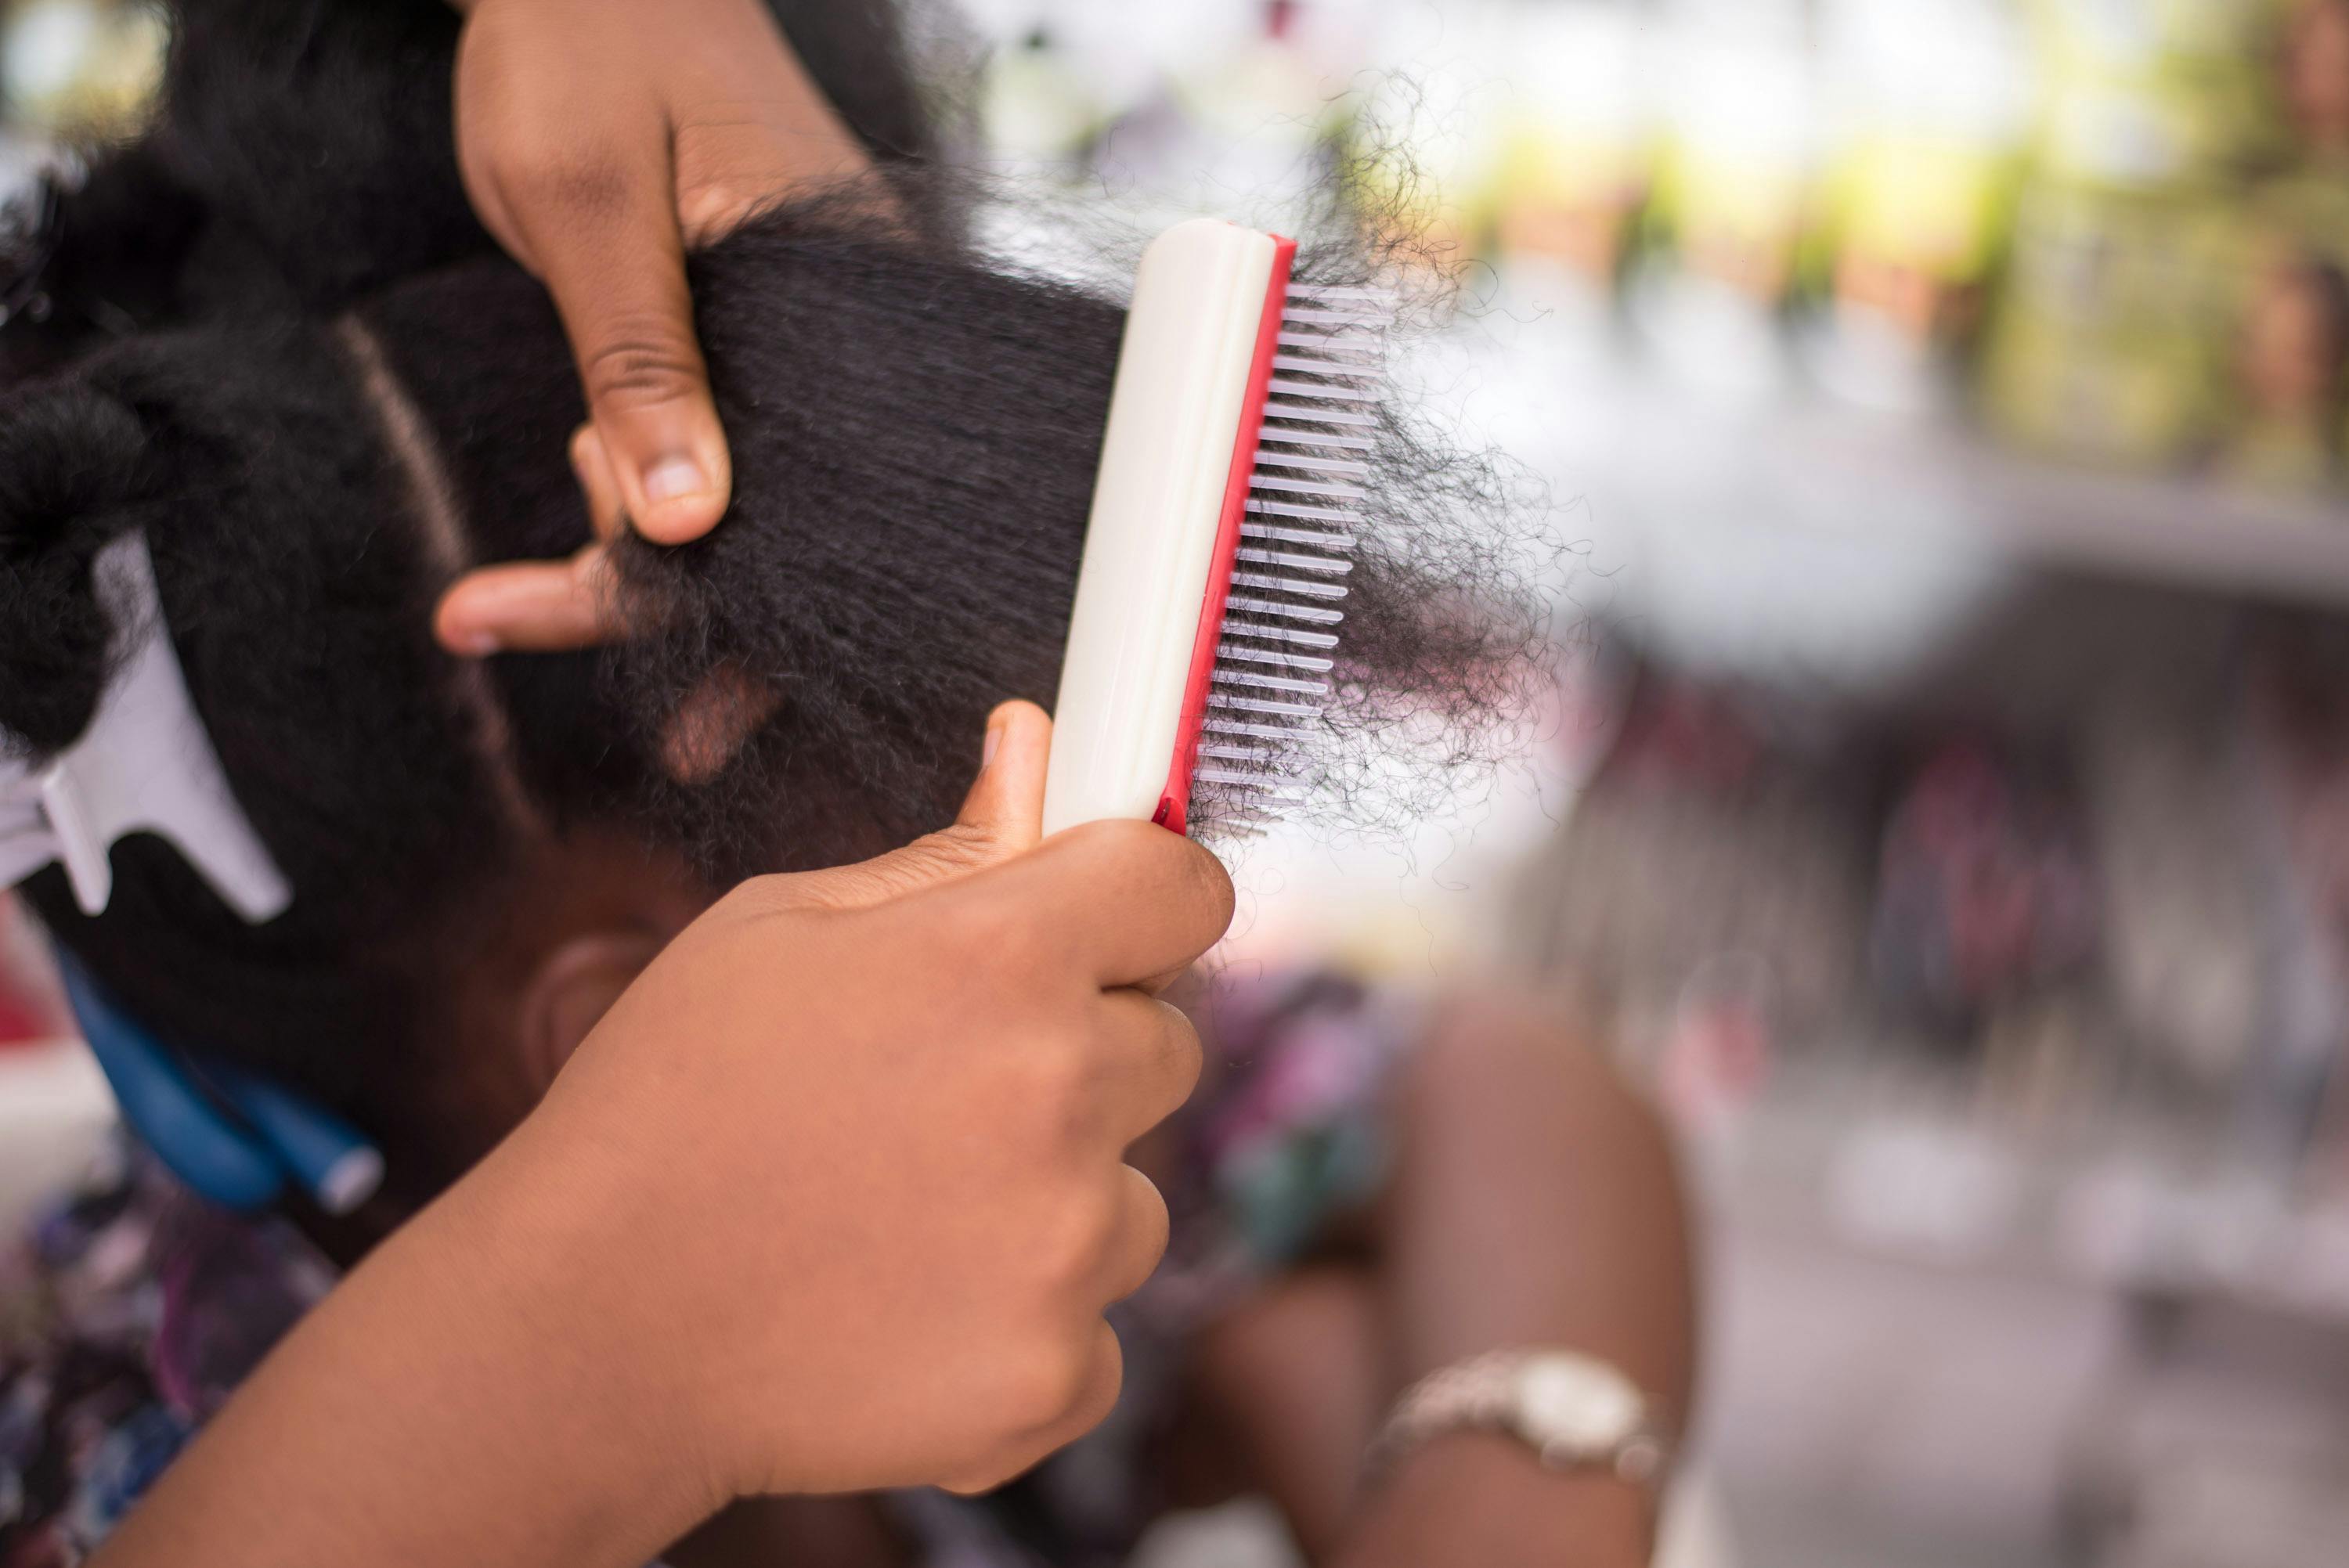
Detangling is the single step people underestimate most. Work through your hair in small sections using a wide-tooth comb or your fingers, starting at the ends and gradually working up toward the roots, so you are never forcing a comb through a full tangle at once. The American Academy of Dermatology specifically recommends a wide-tooth comb used gently rather than aggressive brushing, since rough detangling is one of the more common ways hair gets damaged during normal styling prep. Arriving with hair that is already fully detangled means your stylist can move straight into sectioning and braiding instead of spending part of your appointment time working through knots, which keeps your total chair time closer to the estimate you were given.
Step 3: Handle Trims and Split Ends Beforehand
If your ends are noticeably dry, splitting, or uneven, take care of a trim before your braiding appointment rather than after. Braiding over significantly split ends does not fix them, and hair with a lot of breakage can make the finished braids look thinner or less uniform at the tips. You do not need a dramatic cut. A light trim of the driest, most damaged ends the week before your appointment is usually enough to give your stylist healthier hair to work with, and it means the ends of your braids look fuller and last longer without frizzing early.
Step 4: Skip Heavy Products and Fresh Color Treatments
In the days leading up to your appointment, avoid heavy styling products with long-lasting hold, thick butters, or anything that leaves a noticeable film on your strands. Hair coated in product is harder to part cleanly and can make braids feel greasy or look dull almost immediately after installation. If you color-treat, relax, or chemically straighten your hair, schedule that at least one to two weeks before your braiding appointment rather than right before it. Freshly processed hair is more fragile, and giving it time to settle reduces the risk of extra breakage while it is being sectioned and braided.
Step 5: Make Sure Your Hair Is Completely Dry
Braiding damp or partially dry hair is one of the most common causes of mildew smell, prolonged frizz, and a style that never quite looks as neat as it should. Whether you air dry or blow dry at home, your hair needs to be dry all the way through, not just dry on the surface, before installation begins. This matters even more with thicker or longer natural hair, where the inner layers can stay damp long after the outer layers feel dry to the touch. If you are not confident your hair will be fully dry in time, plan your wash a little earlier than you think you need to.
If You Would Rather Have Your Hair Washed at the Studio
Not everyone wants to wash and dry their own hair before an appointment, and that is completely fine. Just mention it when you book your appointment so your stylist can plan enough extra time for washing and drying before the braiding itself begins. Skipping this step is one of the easiest ways to end up with a longer appointment than expected, so a quick note at booking keeps your actual chair time accurate.
Prepping Color-Treated, Relaxed, or Previously Braided Hair
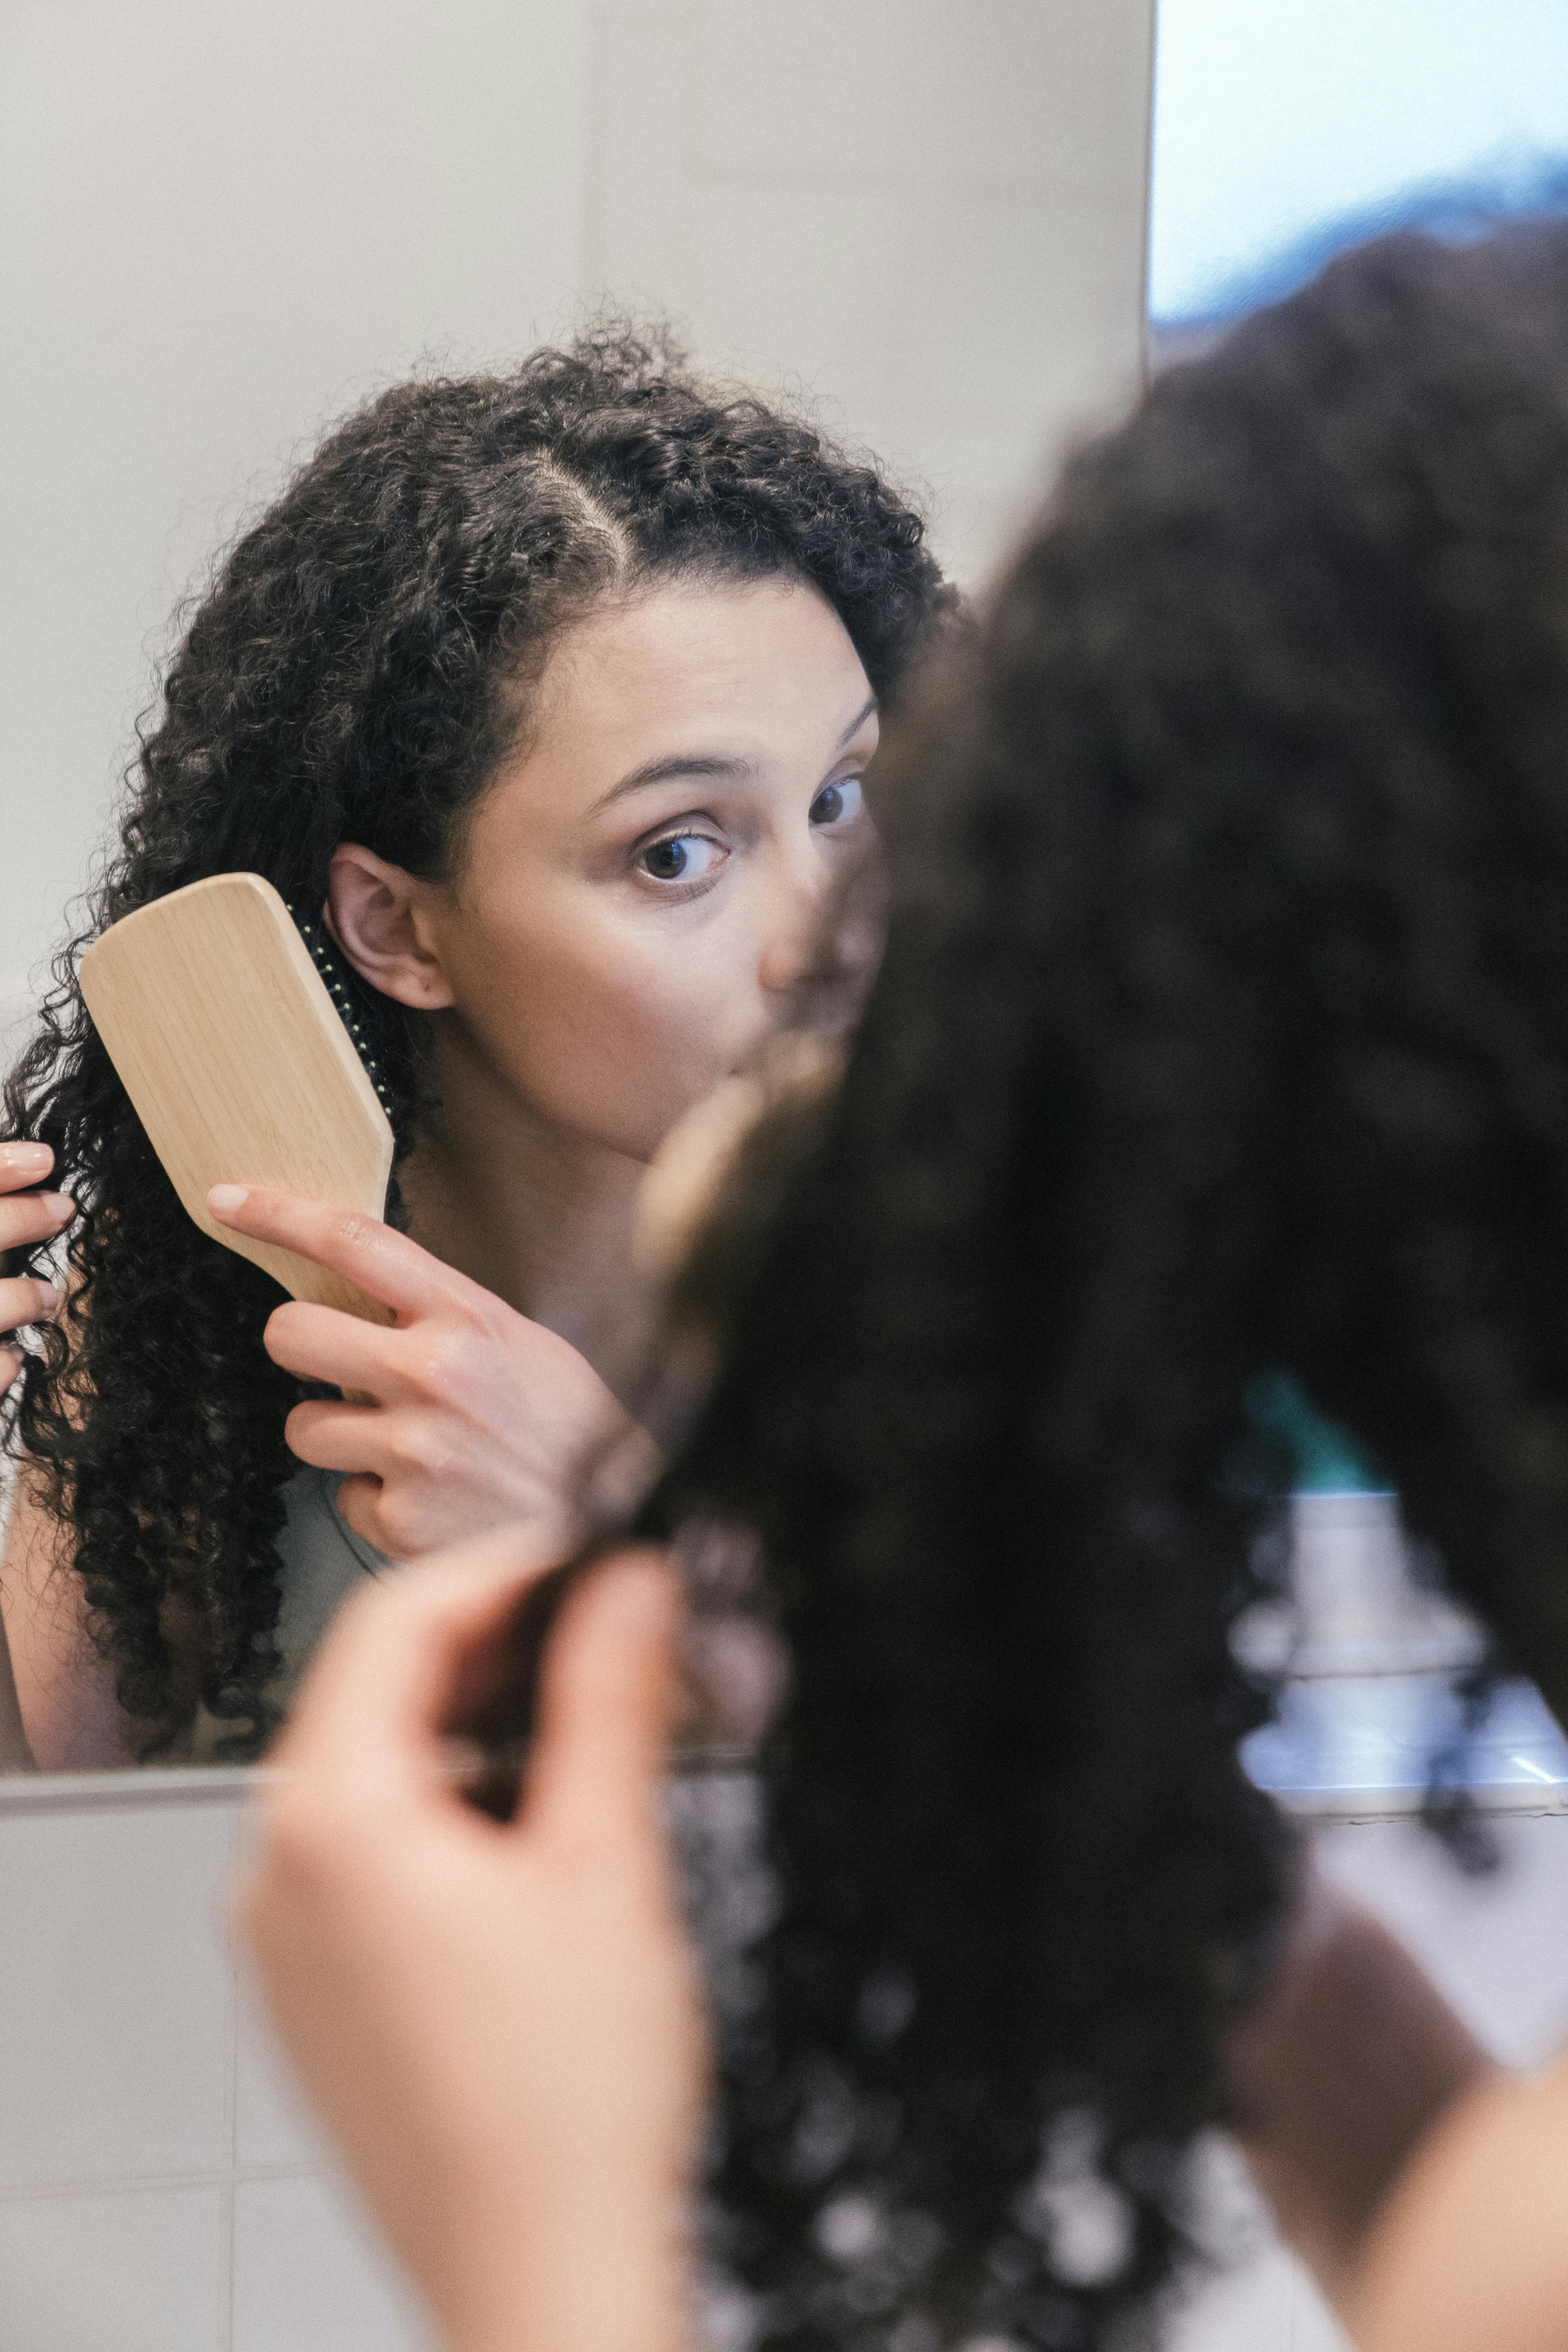
If your hair is color-treated or relaxed, the same core steps apply, with a bit more attention to moisture. Chemically treated hair tends to be drier and slightly more prone to breakage, so a deep conditioning treatment in the day or two before your appointment is worth the extra effort. If you are coming out of a previous protective style, check your natural hair for matting near the nape or hairline before you arrive, since these are the areas most likely to tangle while braided in for several weeks. According to dermatologist Dr. Crystal Aguh of Johns Hopkins, protective styles are best kept in for around six weeks at most, since longer wear limits access to deep conditioning and increases the risk of matting and breakage, which makes starting your next style on genuinely well-prepped hair even more worthwhile.
The Night Before and Morning Of Your Appointment
By the night before your appointment, your hair prep should already be finished rather than rushed that morning. Confirm your hair is fully dry, detangled, and free of heavy product, and lay out anything you want to bring with you, such as a reference photo of the style you have in mind. On the morning of your appointment, a light leave-in or a small amount of oil at the scalp is fine, but resist the urge to reapply a lot of product right before you leave, since your stylist will be parting and handling your hair closely for the next few hours.
What Not to Do Before a Braiding Appointment
A few habits work against everything above. Do not wash and detangle at the last minute the morning of your appointment, since damp hair and rushed detangling both make the process harder. Do not apply heavy oils, gels, or long-hold styling products right before you arrive. Do not schedule a fresh relaxer, perm, or color service in the days immediately before braiding, since freshly chemically treated hair needs time to recover its strength first. And do not ignore matting or heavy tangles and hope your stylist can work through them quickly, since detangling on the day adds real time to your appointment and puts extra strain on your strands.
Booking Your Appointment
Once your hair is prepped, the rest is straightforward. You can book your appointment online and choose from styles like knotless braids, known for their lighter feel at the root, or classic box braids for a durable, long-lasting protective style. If you have questions about prepping your specific hair type or texture before your visit, feel free to ask when you book, or bring it up during your consultation.
Frequently Asked Questions
How far in advance should I wash my hair before getting braids?
One to two days before your appointment is ideal. This gives your scalp time to produce a small amount of natural oil again while keeping your hair clean enough for a smooth installation.
Do I need to detangle my hair before a braiding appointment?
Yes. Fully detangled hair lets your stylist section and braid more efficiently, which keeps your appointment closer to its estimated length and reduces unnecessary tension while parting.
Should I get a trim before getting braids?
If your ends are dry or splitting, a light trim in the week before your appointment helps the ends of your braids look fuller and last longer without early frizzing.
Can I get braids on relaxed or color-treated hair?
Yes, as long as the chemical service happened at least one to two weeks before your braiding appointment so your hair has time to recover its strength first.
What if I don't have time to wash my hair myself before my appointment?
Just let us know when you book so we can allow extra time to wash and dry your hair at the studio before the braiding begins.
How you prep your hair before a braiding appointment shapes the entire experience that follows, from how comfortable the installation feels to how long the finished style holds up. Wash and deep condition a day or two ahead, detangle fully, skip heavy products, and make sure your hair is completely dry, and the rest of the appointment tends to take care of itself. If you are ready to put this into practice, go ahead and book your next appointment and arrive with hair that is ready to braid.